Transform Damaged Hardwood Floors Into Flawless Surfaces With Hardwood FloorRepair Black Forest
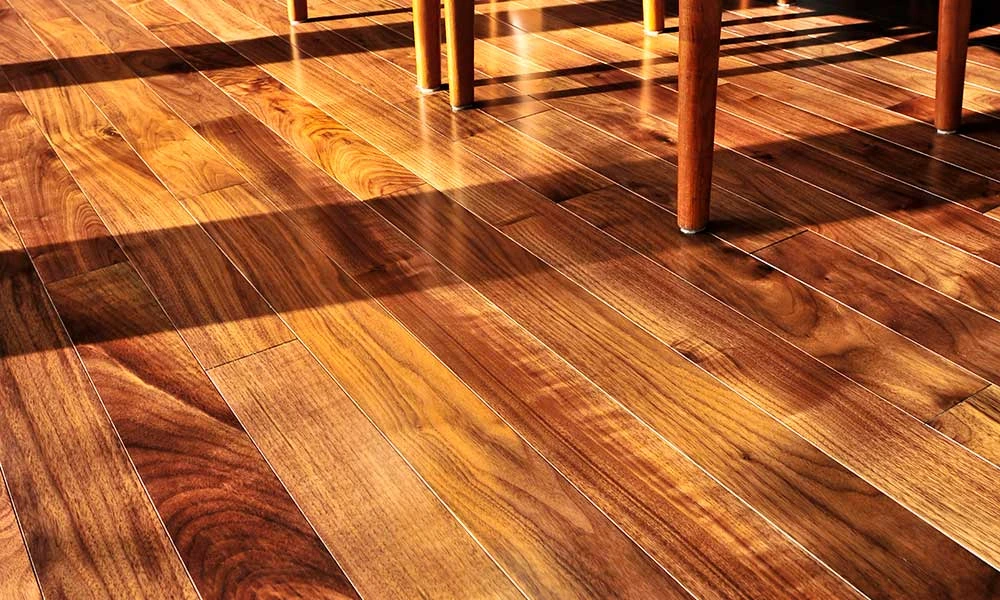
A hardwood floor adds everlasting attraction to any room and gives the space a welcoming feel. With time scratches, stains or dull coverings begin to show, and the surface loses its natural glow. Restoring it not only revives appearance but also extends durability. Repairing damaged boards ensures a strong structure and smooth finish for years ahead. Many homeowners prefer repairing instead of replacing to retain the original quality. You can bring back elegance through hardwood floor repair black forest.
Common Surface Problems
Floors made of wood develop visible marks after years of use. Scratches from sharp objects leave rough areas. Constant sunlight exposure often fades the color.
- Small cracks slowly affect the overall strength of the floor.
- Stains from spills create lasting marks that remain visible.
- Deep scratches make the surface appear dull and rough.
- Warping alters balance across various sections of the floor.
- Loss of shine reduces the natural warmth of wood.
Repairing Scratches And Cracks
Scratches and cracks require careful attention to bring back balance. Sanding reduces marks, while fillers handle deeper damage. Both methods ensure the wood looks even and strong once more, especially with hardwood floor repair black forest, where precision and quality craftsmanship shine.
Experts often use advanced tools to smooth the surface without removing too much wood. With filling compounds matched to the shade, the outcome blends naturally.
Adding Protective Finishes
After correcting damage, a protective finish is applied to secure the surface. This layer prevents dust from entering gaps and gives an attractive shine. It also shields the boards from daily wear.
The gloss highlights natural grains while acting as a guard against scratches. A proper seal also makes routine cleaning simple. This step ensures the restored wood remains bright and sturdy for many years.
Preparing The Wooden Base
Before any correction is attempted, the surface must be readied. Cleaning away dust and dirt reveals the real condition. Once prepared, the wood accepts sanding or filling without resistance.
- Remove loose dirt with soft cleaning tools for a smooth base.
- Wash stained areas lightly so the grains appear natural.
- Sand lightly to flatten rough spots across the surface.
- Fill gaps with bonding material to strengthen weak points.
- Wipe clean before starting coating or staining for an even look.
A revived surface not only restores appearance but also adds strength to your living space. Careful cleaning combined with proper finishing offers long-term protection against common problems. Restoring scratches and adding strong coatings make the wood last longer.