
 By
What Bathtub Refinishing Involves
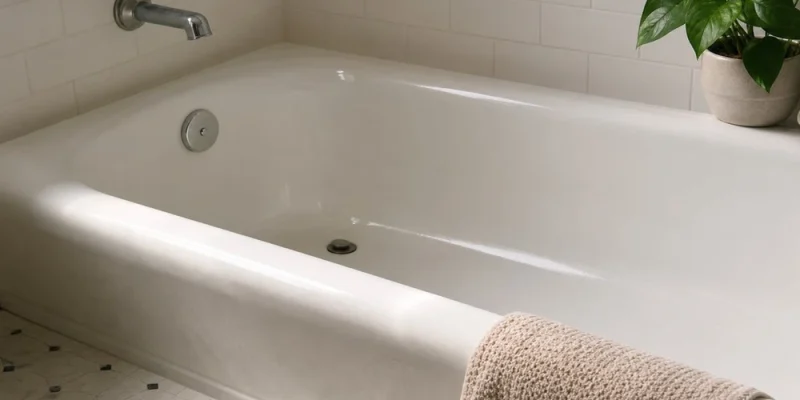
Bathtub (https://en.wikipedia.org/wiki/Bathtub) refinishing is the process of renewing the outer, visible portion of an existing bathtub. Refinishing involves multiple steps that include cleaning, repair of any chips/cracks, removal of any chemical residue, dulling the old finish so new refinishing paint adheres well, application of new refinishing paint and finally allowing for adequate cure time.
If you have a refinishing kit in mind, it’s important to make sure refinishing is a good choice for your Portland, OR, home. A basic bathtub refinishing kit makes the process seem easy; however, proper application requires additional supplies, thorough preparation and planning to make sure the refinishing paint lasts.
Is DIY Refinishing Right for Your Tub?
While it may not always be obvious whether your project is a good candidate for refinishing yourself, if the existing bathtub is structurally sound and only minor aesthetic updates are required then refinishing yourself is most realistic. Scratches, discoloration, fading and small chips can usually all be refinished by yourself. More extensive chipping/cracking or flaking finishes can make refinishing by yourself more challenging.
Bathtub refinishing materials emit strong odors – as discussed on this page. Adequate air circulation will be required during the project and while the material is curing. Allow adequate time for refinishing to be successful. Cutting corners can lead to an unsatisfactory finish, debris becoming trapped in the refinishing material and chips, scratches, and scuff marks before it has cured properly.
When inspecting a bathtub consider checking for any soft spots, cracks, peeling existing finishes, leaks and rust around the drain with strong lighting. All of these conditions may indicate refinishing is only a temporary solution.
Supplies, Downtime, and Safety
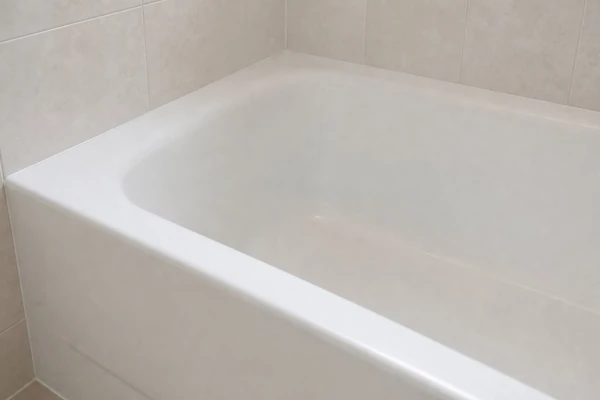
- Adequate time, as cure times can be deceiving. Always refer to product label information. While some refinishing materials may feel cured after just a few hours, they may need more days of cure before it’s safe to allow water to sit on the surface, abrasive cleansers or suction-backed bath mats.
- Thorough bathroom downtime – Everyone will need a place to bathe while the refinishing cures.
- Respirator that fits properly, safety goggles and gloves
- Cleansers/degreasers
- Abrasive scuff pads/sandpaper
- Repair putty for deep chips or cracks
- Painter’s tape/masking materials
- Fans to help circulate air
Preparation, Application, and Aftercare
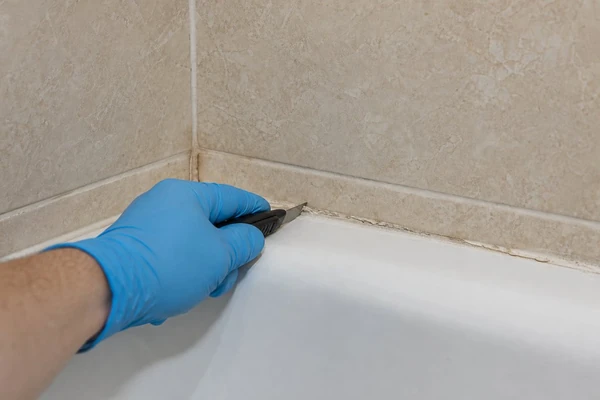
Bathtubs can collect a lot of soap scum, body oils and residue that makes proper bonding of refinishing products difficult. Even a tub that appears clean can prevent new refinishing from lasting. Caulking and any old refinishing will also need to be completely removed. New refinishing products will only adhere as well as the surface it is applied to. Proper preparation is the hardest and least gratifying part of refinishing a bathtub.
Minor chips/scratches will need to be filled and sanded smooth before refinishing. Imperfections can be hard to see after refinishing, but will be more noticeable when glossy new refinishing paint is applied. Most DIY refinishing jobs fail due to inadequate preparation and exposure to water too soon, not from painting mistakes. If flaking does occur it’s typically in spots around the drain or in corners or in spots that were shiny/not scuffed properly or still had residue on the surface.
Refinishing materials typically are formulated for spraying in a controlled environment. Splatters, drips and brush/roller marks are difficult to correct after the refinishing material cures. Hair, dust and lint can find their way into your refinishing job. Refinishing paint should be applied in an even manner, as shiny streaks and thin spots will be amplified after cure.
Refinished bathtubs require proper care to get the most life from your refinished investment. Abrasive chemicals/cleansers, suction-backed bath mats, and allowing water to sit in the refinished bathtub can all prematurely wear a refinished finish.
You should also examine any caulking, grout lines, and drain hardware in the vicinity of the tub. If an overflow plate is worn or if a drain leaks, it might look out of place on your new surface and could be less work to fix now than later.
Professional Refinishing and Replacement Limits
Bathtubs with large areas of chipping/flaking, deeper cracks/damage, rust/corrosion on the metal portions of the bathtub, and previous refinishing that need to be sanded off are all best refinished by a professional. Renew-It Refinishing can be a suitable option for homeowners who want professional help with bathtub refinishing. Poor air circulation in a bathroom or refinishing a bathtub when there is only one available in your home would also benefit from refinishing by a professional.
Professionals will have access to materials, experience, and methods not always available to homeowners. From better refinishing materials and application with professional spray equipment, thorough masking, preparation and cleaning of the surrounding area, and curtaining off the rest of the home to avoid unwanted dust or debris in the refinishing paint.
Replacement Makes Sense for Structural Problems
Large cracks or deeper damage/corrosion, poor structural condition, or any needed updates to the plumbing behind or within the bathtub can all make replacement a better option. Always refer to cure times on refinishing products and plan accordingly to make the most of your refinishing project!